


Hey there, fitness enthusiasts! If you're into strength training, you know how important it is to have a proper setup for your dumbbells. And that's where a good dumbbell rack comes in. As a supplier of top - notch Dumbbell Racks, I've seen firsthand the difference a well - secured rack can make. In this blog, I'm gonna share some tips on how to secure a dumbbell rack to the floor, so you can train with peace of mind.
Why Securing Your Dumbbell Rack Matters
Before we dive into the how - to, let's talk about why it's so crucial to secure your dumbbell rack. First off, safety is the number one reason. A wobbly or unstable rack can tip over, especially if you're grabbing heavy dumbbells in a hurry or if someone accidentally bumps into it. This could lead to serious injuries, not to mention damage to your expensive dumbbells.
Secondly, a secured rack is more stable during use. When you're lifting weights, you want to focus on your form and the movement, not on whether the rack is going to fall apart. A stable rack also helps in keeping your workout area organized. You can easily access your dumbbells without having to worry about the rack shifting around.
Tools and Materials You'll Need
To secure your dumbbell rack to the floor, you'll need a few tools and materials. Here's a list:
- Drill: A good quality drill is essential for making holes in the floor and the rack. Make sure you have the right drill bits for the type of floor you have (more on that later).
- Anchors and Screws: Depending on your floor type, you'll need appropriate anchors and screws. For concrete floors, you might need concrete anchors, while for wooden floors, wood screws could do the trick.
- Level: A level will help you ensure that the rack is perfectly horizontal before you secure it. This is important for both stability and aesthetics.
- Measuring Tape: You'll need to measure the distance between the holes on the rack and mark the corresponding spots on the floor accurately.
Step - by - Step Guide to Securing Your Dumbbell Rack
Step 1: Choose the Right Location
The first step is to find the perfect spot for your dumbbell rack. Look for a flat and stable area in your workout space. Avoid placing it near doorways or high - traffic areas where it could be knocked over. Also, make sure there's enough clearance around the rack so you can easily access your dumbbells.
Step 2: Prepare the Floor
The type of floor you have will determine how you prepare it.
- Concrete Floors: If you have a concrete floor, use a hammer drill with a masonry bit to drill holes at the marked spots. Make sure the holes are deep enough to accommodate the concrete anchors.
- Wooden Floors: For wooden floors, you can use a regular drill to make pilot holes. This will prevent the wood from splitting when you insert the screws.
- Tile Floors: Tile floors are a bit trickier. First, use a tile drill bit to make holes in the tile. Then, continue drilling into the underlying material (usually concrete or wood) with the appropriate bit.
Step 3: Place the Rack
Once the floor is prepared, carefully place the dumbbell rack in the chosen location. Use a level to make sure it's perfectly horizontal. Adjust the position of the rack as needed until it's level.

Step 4: Mark the Holes
With the rack in place, use a marker to mark the holes on the floor through the holes in the rack. This will ensure that you drill the holes in the right spots.
Step 5: Drill the Holes
Drill the holes in the floor according to your markings. Make sure the holes are the right size for the anchors or screws you're using.
Step 6: Insert Anchors (if needed)
If you're using concrete or other hard floors, insert the anchors into the drilled holes. Tap them gently with a hammer until they're flush with the floor.
Step 7: Secure the Rack
Finally, place the rack back over the holes and insert the screws through the holes in the rack and into the anchors or directly into the floor (for wooden floors). Use a screwdriver or drill to tighten the screws securely. Make sure the rack is firmly attached to the floor and doesn't wobble.
Additional Tips and Considerations
- Weight Capacity: Before securing your rack, make sure it can handle the weight of your dumbbells. Overloading the rack can cause it to become unstable, even if it's secured properly.
- Maintenance: Regularly check the screws and anchors to make sure they're tight. Over time, vibrations from lifting weights can cause them to loosen.
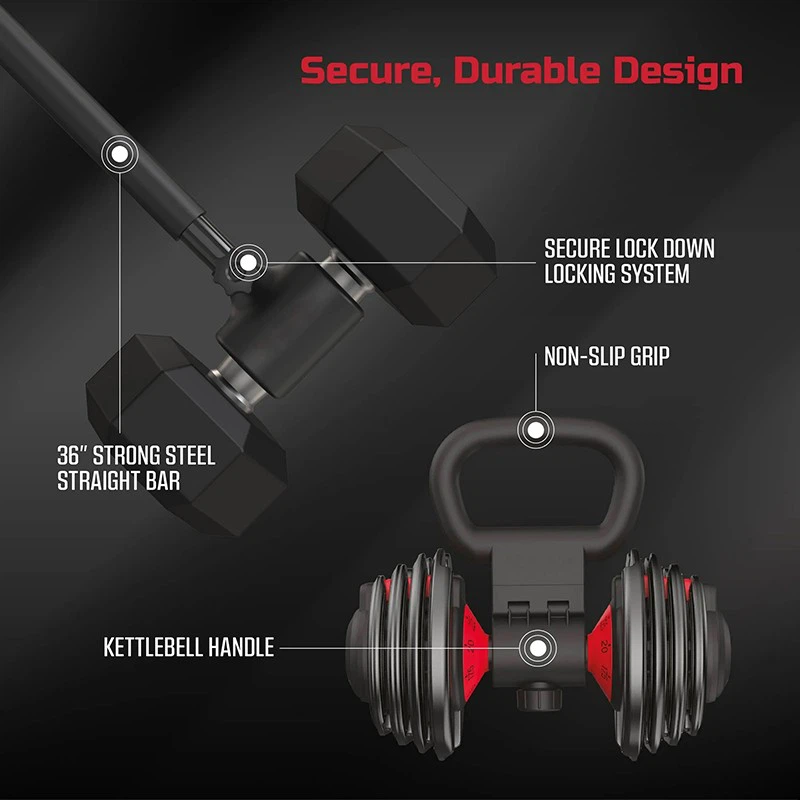
- Accessories: Consider using accessories like AnkleBells and Bell System Dumbbell Bars to enhance your workout. These can also be stored on your dumbbell rack for easy access.
Conclusion
Securing your dumbbell rack to the floor is a simple yet crucial step in creating a safe and functional workout space. By following these steps and using the right tools and materials, you can ensure that your rack is stable and secure.
If you're in the market for a high - quality dumbbell rack or have any questions about securing your existing rack, don't hesitate to reach out. We're here to help you take your strength training to the next level. Whether you're a home gym enthusiast or a professional trainer, we've got the perfect dumbbell rack for you. Contact us today to discuss your needs and start building your dream workout setup!
References
- "Fitness Equipment Installation Guide" - General fitness industry handbook
- "Safety Guidelines for Home Gyms" - Published by a leading fitness safety organization


